How to Request MPS Data (Using the MPS CLI)
This page is based on technical writing I did for Project Aria. For the most up to date documentation go to Project Aria Docs.
Overview
The Project Aria Machine Perceptions Services Command Line Interface (MPS CLI) is a command line tool used to request and receive Machine Perception Services. While you can use the Desktop Companion app to request MPS, the MPS CLI provides more features and more robust file uploading. This page provides basic information to get you started with the MPS CLI, go to the MPS CLI Guide for more details.
The MPS inputs can be a file or directory, and multiple inputs can be listed in a single command.
The MPS CLI has two modes:
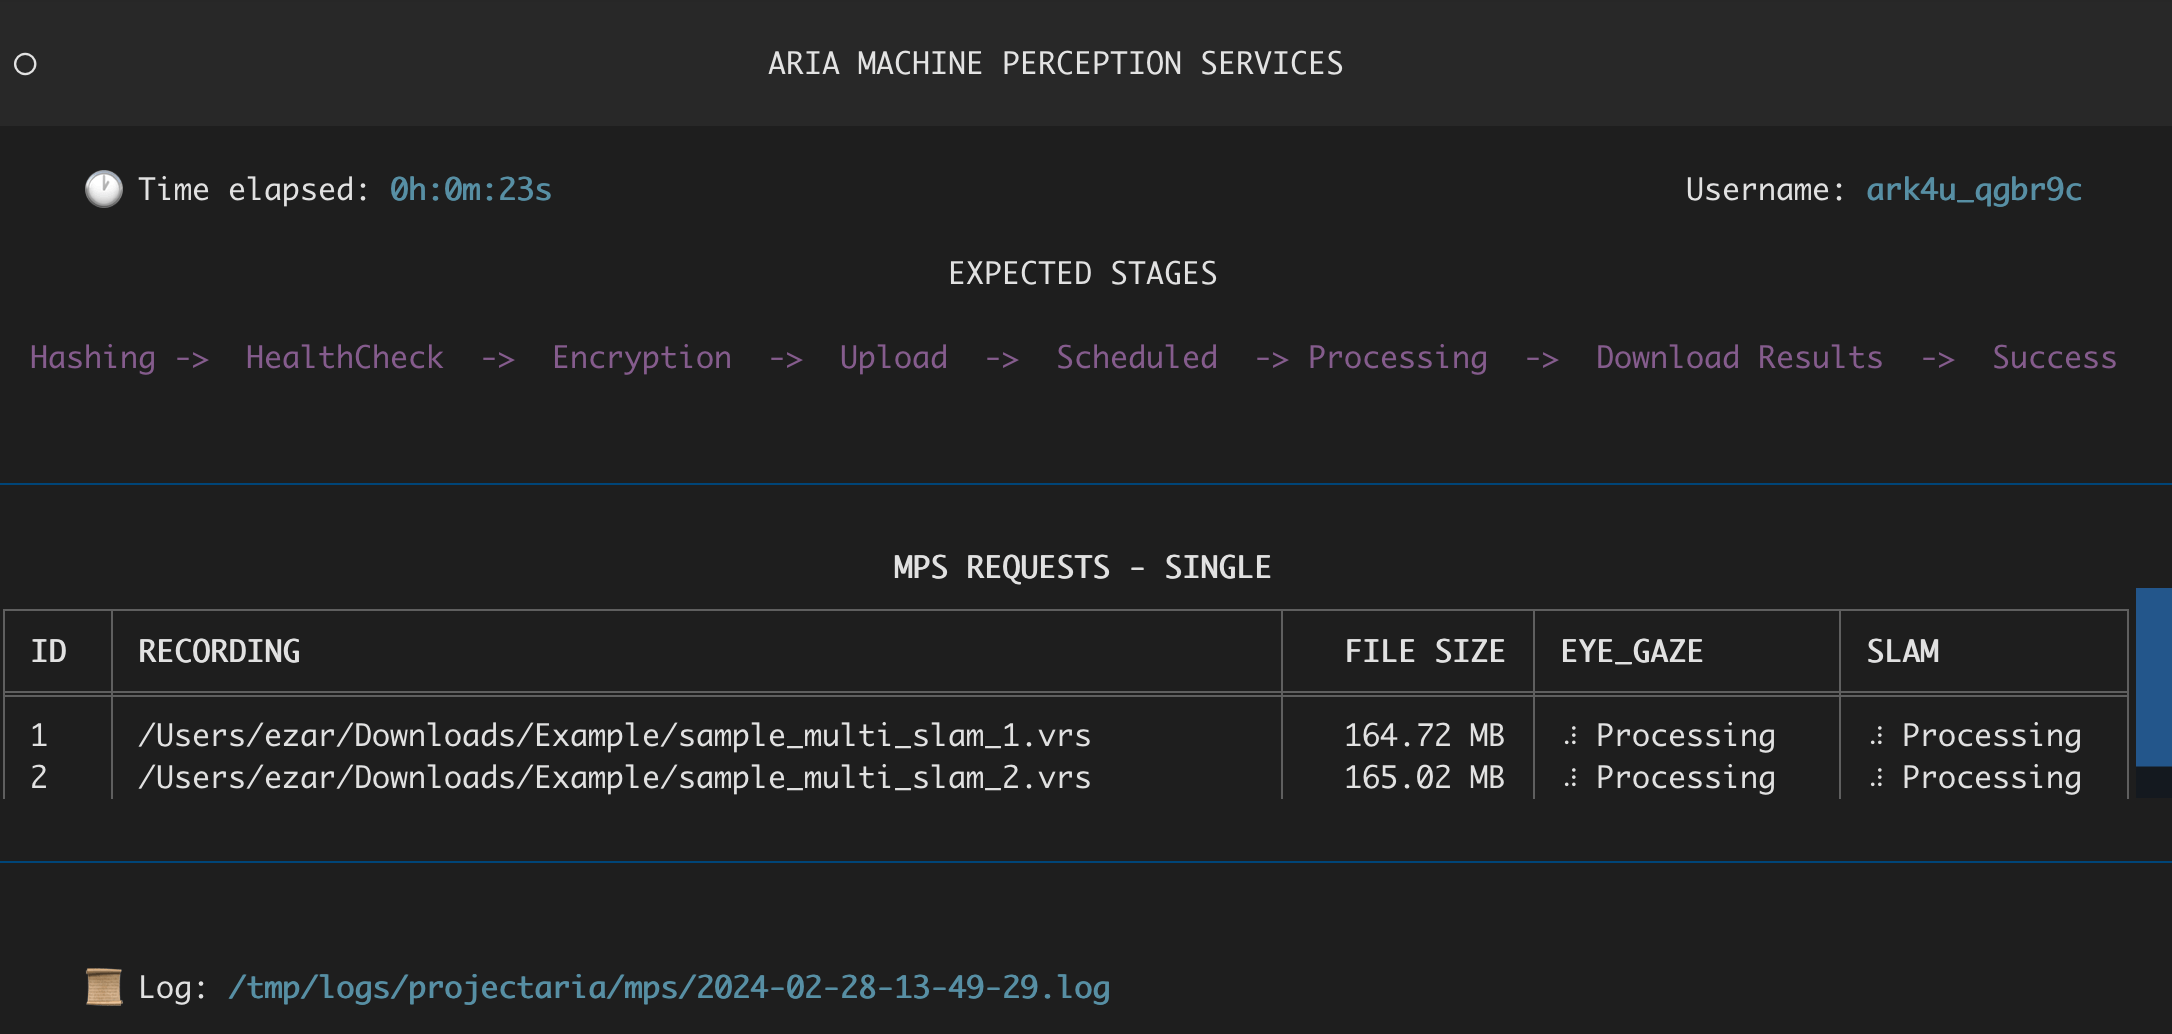
- Single
- Process each recording individually
- Output is always saved next to the input VRS file
- The most common way to request MPS
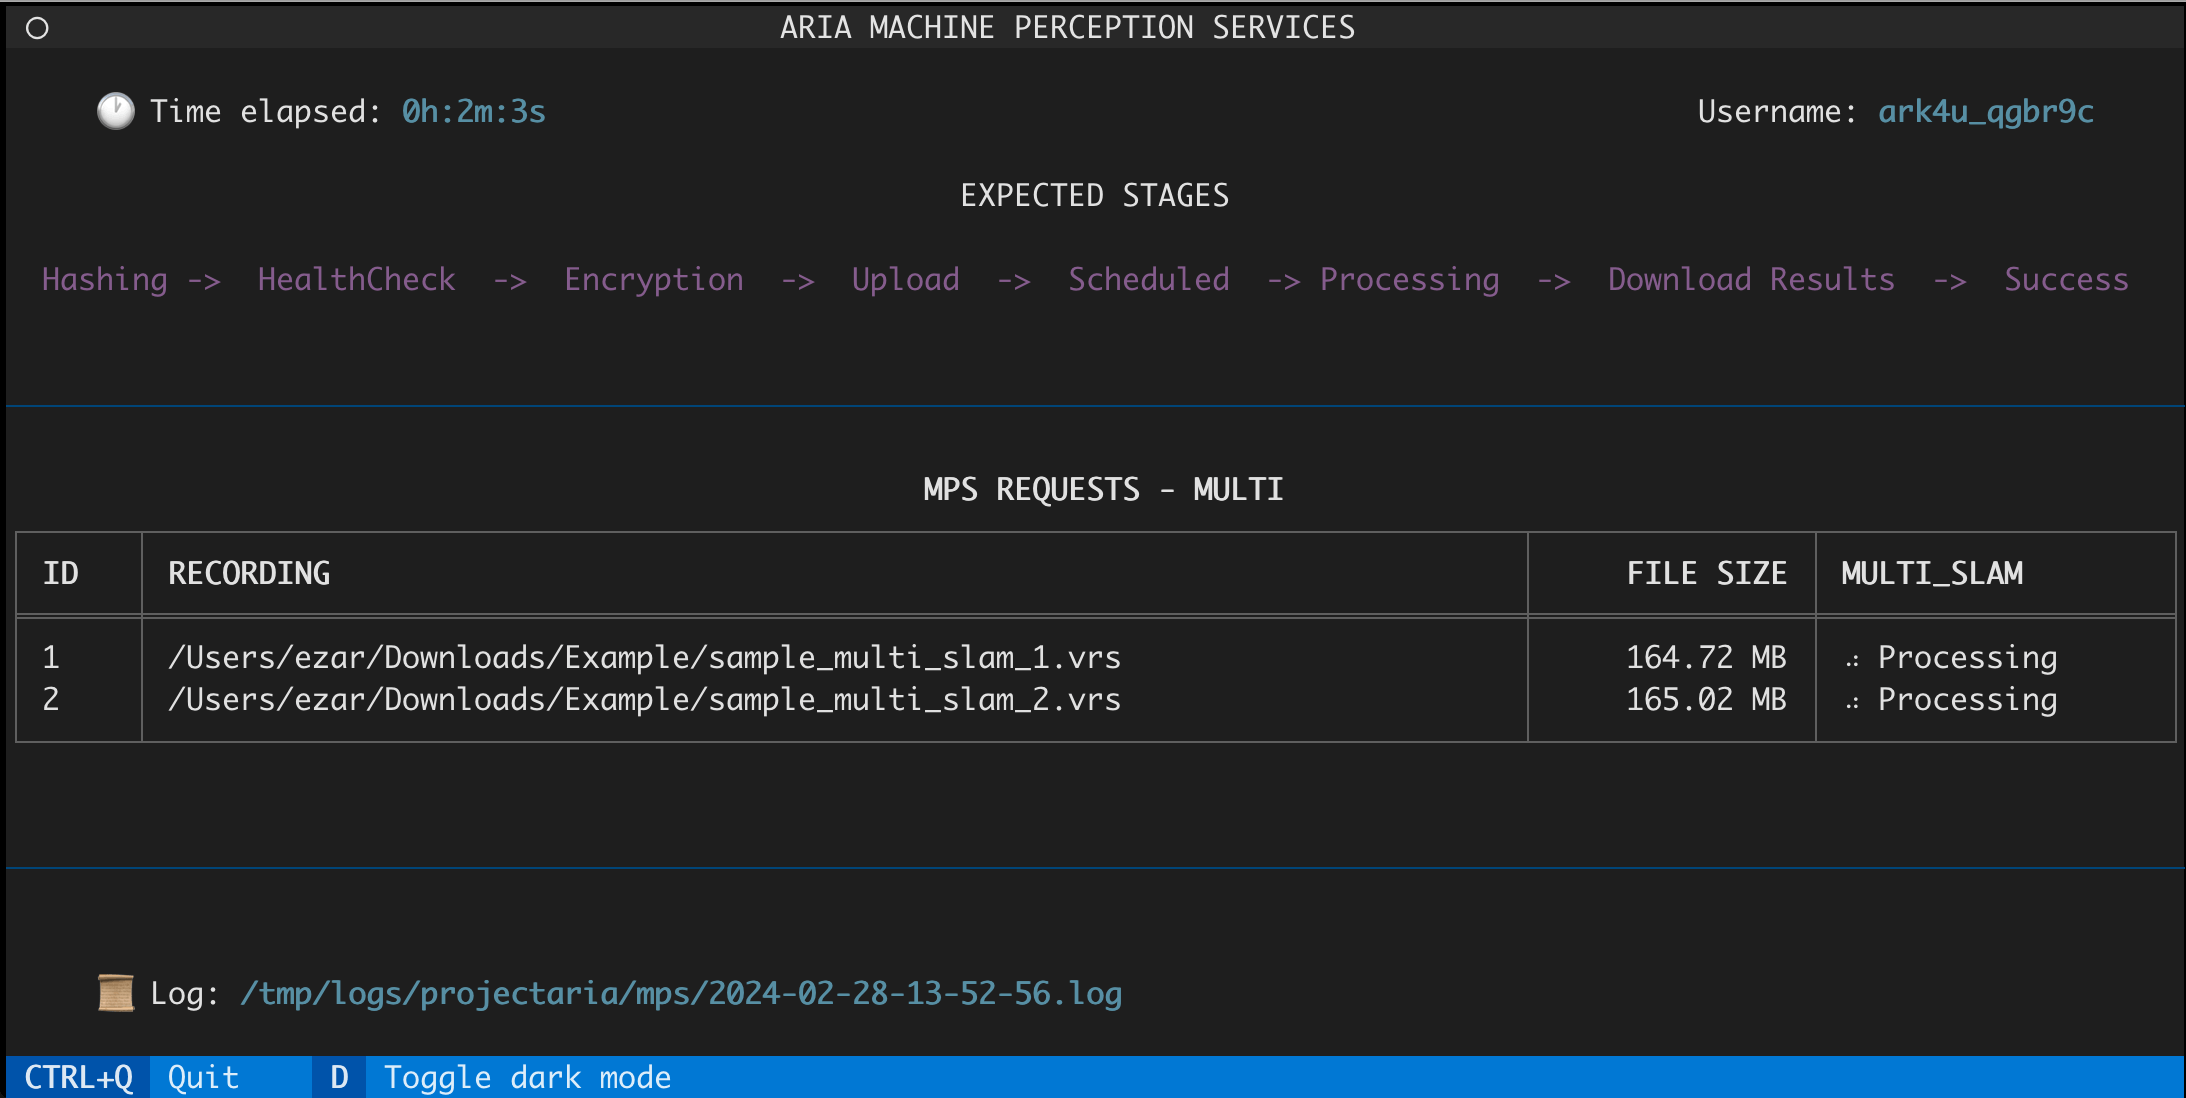
- Multi
- Process multiple recordings to generate multi-sequence SLAM data
- User must provide a directory for the outputs
This tutorial uses the the MPS CLI UI, but all processes can also work can without using the UI and can be integrated into automated workflows. Go to the Command Line Reference in the User Guide for more details.
Getting Started
Install Project Aria Tools
Project Aria MPS CLI is only available if you install the pip installation version of Project Aria Tools. This installation has been designed to be simple to use, even if you are not familiar with programming languages.
To return to your installation of Project Aria Tools at any time, restart the virtual environment using the following command:
source $HOME/projectaria_tools_python_env/bin/activate
Download the MPS CLI sample dataset
To try out the following commands on VRS files:
- Download the sample files:
- Move them to a directory called Example in your downloads directory
You may also wish to use your own recordings.
Request MPS for all VRS files in the “Example” directory and it’s subdirectories:
aria_mps single -i ~/Downloads/Example/
You'll be prompted to enter your username and password. Use the Project Aria credentials you use to sign into the Mobile Companion app.
Once the request has been processed, the MPS output will be downloaded next to the original VRS file. In this example, a recording in the Example directory called recording1.vrs was used to generate MPS.
    └── Example folder
        ├── mps_recording1_vrs
        │   ├── eye_gaze
        │   │   ├── general_eye_gaze.csv
        │   │   └── summary.json
        │   ├── slam
        │   │   ├── closed_loop_trajectory.csv
        │   │   ├── online_calibration.jsonl
        │   │   ├── open_loop_trajectory.csv
        │   │   ├── semidense_observations.csv.gz
        │   │   ├── semidense_points.csv.gz
        │   │   └── summary.json
        │   ├── hand_tracking
        │   │   ├── wrist_and_palm_poses.csv
        │   │   └── summary.json
        │   ├── vrs_health_check.json
        │   └── vrs_health_check_slam.json
        └── recording1.vrs
Go to MPS Data Format Basics for more details about the folder structure.
Exit the MPS CLI
To quit the MPS CLI, press CTRL + Q. The CLI will ask for confirmation before quitting.
- If you quit the request tool while the files are uploading the uploads will stop.
- If you resubmit the request the uploads will resume where they left off, progress won’t be lost.
If you quit the request tool once the files have been uploaded, the MPS processes will continue. Once processing is complete, and the request tool is open, MPS files will be automatically downloaded to your VRS files’ location.
Multi Sequence MPS Requests
When you request MPS using multi mode, MPS will process a group of recordings together to generate Multi-SLAM MPS. Multi-SLAM MPS creates SLAM MPS outputs in a shared co-ordinate frame. Once the request has been processed, the MPS output will be downloaded to the directory you defined.
aria_mps multi -i ~/Downloads/Example/ -o ~/Documents/multi_slam_output
Working with MPS data
You may find the following resources helpful when working with MPS data: